Windows系统中使用命令行编译C程序
本文以Windows 10和Visual Studio 2019为例,使用命令行编译C程序。
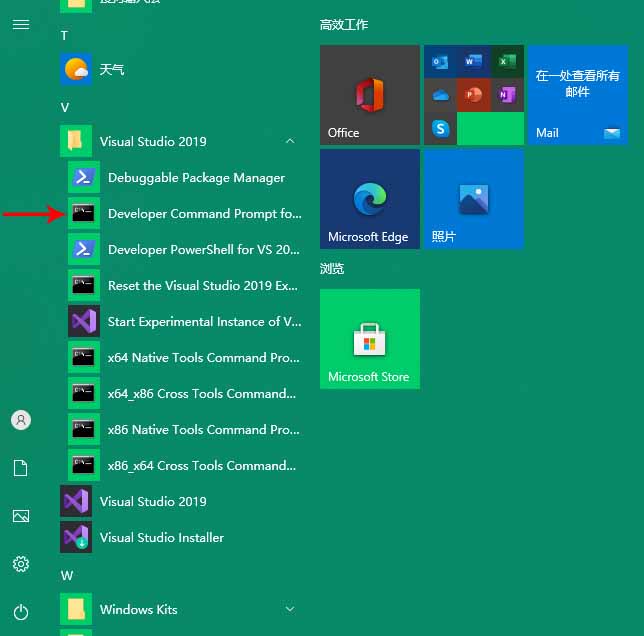
1、通过开始\Visual Studio 2019\Developer Command Prompt for VS 2019打开Developer Command Prompt for VS 2019,具体如下图所示:
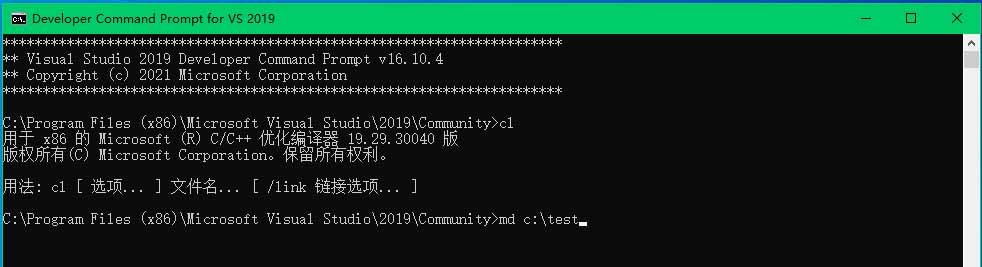
2、打开Developer Command Prompt for VS 2019后,出现如下窗口:

3、输入cl后,如果出现下图内容(不同的Visual Studio版本内容可能有差异。),则可以使用命令行编译C程序。

4、使用md命令创建源文件的位置目录,例如:md c:\test;
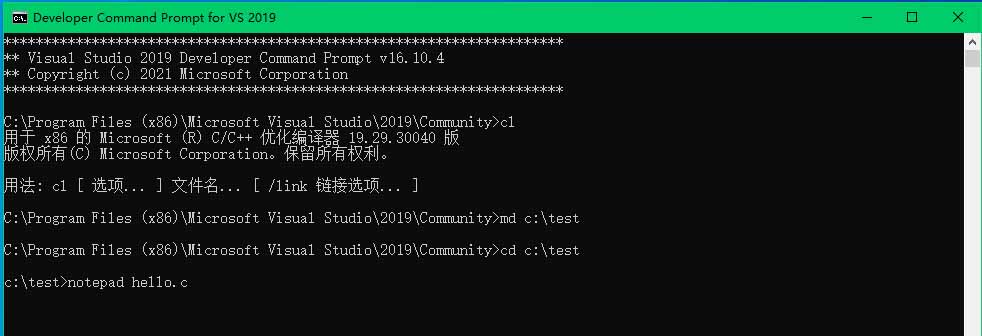
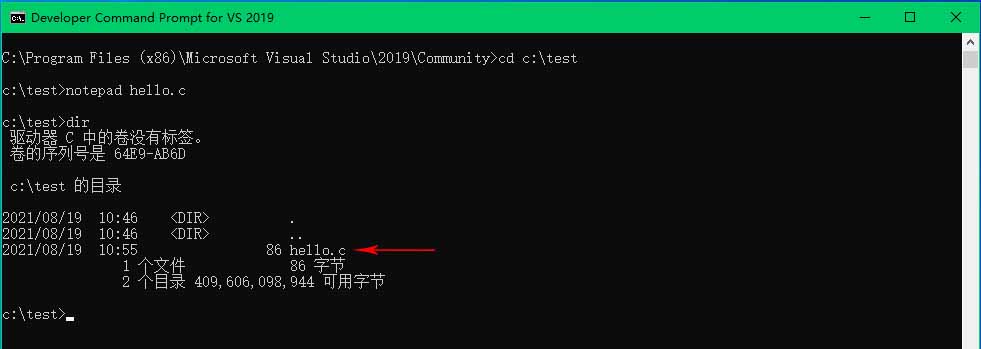
5、使用cd c:\test命令改变目录后,使用notepad hello.c创建源文件,具体如下图所示:
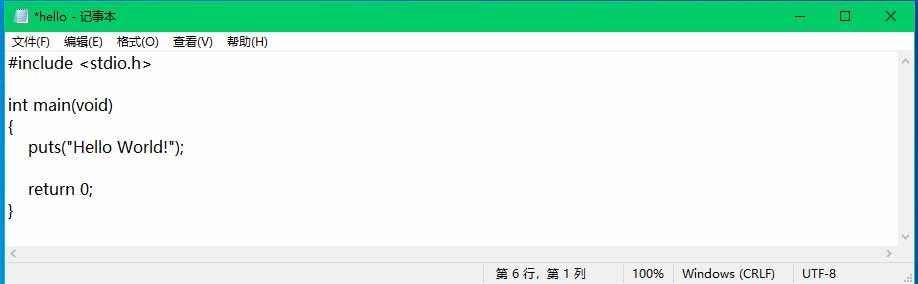
6、当记事本提示创建新文件时,选择是,然后在打开的空白记事本中输入代码,具体如下图所示:
7、使用dir命令查看当前目录下的内容,
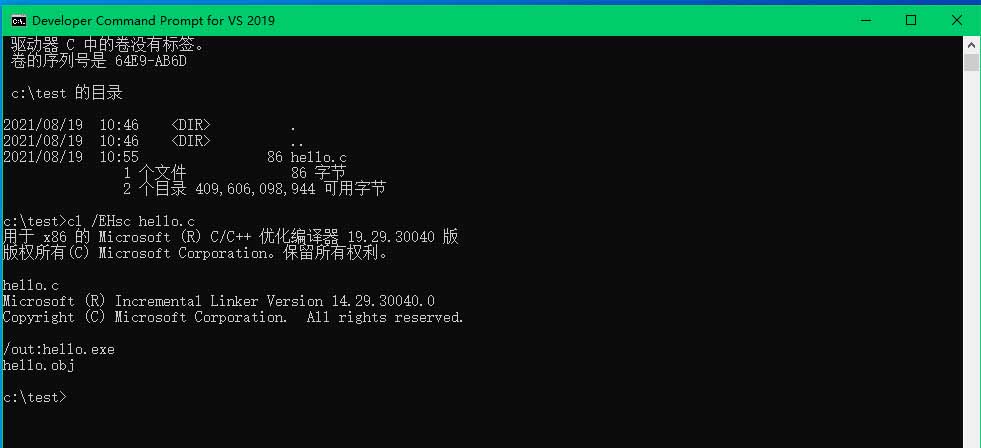
8、当前目录下存在hello.c文件,说明文件创建成功;接下来使用cl /EHsc hello.c命令编译C程序,cl.exe编译器会生成包含已编译代码的obj文件,链接器会创建exe可执行程序,具体如下图所示:
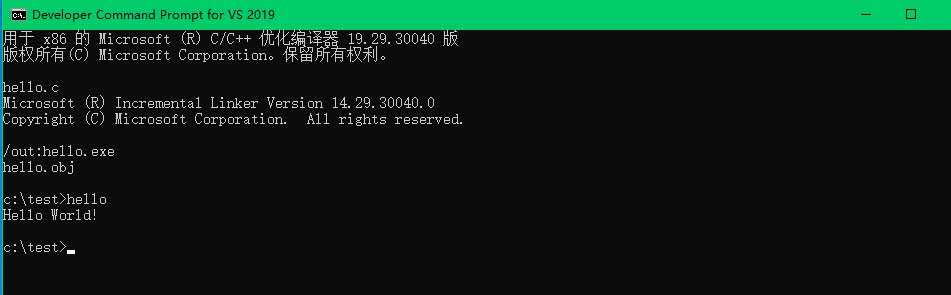
9、输入hello,即可执行hello.exe程序。
10、如果要编译包含其它源代码的源文件,可以使用cl /EHsc命令一起编译,例如:
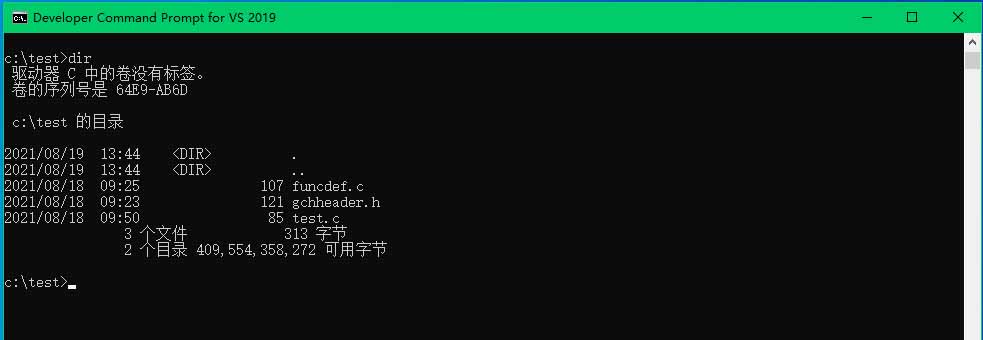
在C:\test目录中存在3个文件:gchheader.h头文件、funcdef.c源文件和test.c源文件,代码分别为:
gchheader.h头文件
|
|
funcdef.c源文件
|
|
test.c源文件
|
|
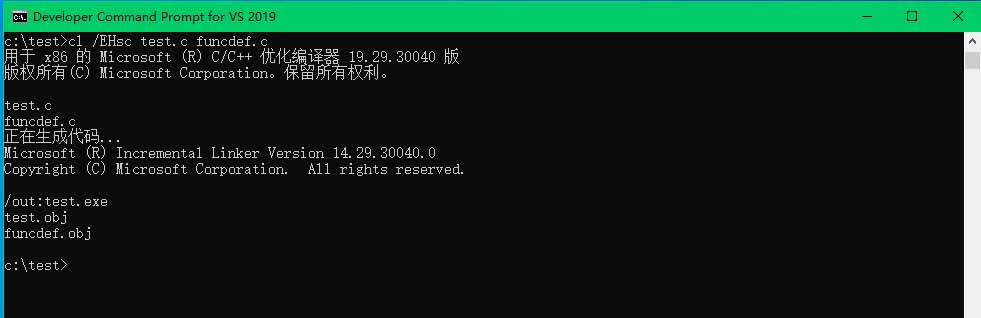
test.c源文件中需要调用myprint函数;该函数在gchheader.h头文件中声明,在funcdef.c源文件中定义,这里funcdef.c源文件也需要编译。使用cl /EHsc test.c funcdef.c命令编译结果如下所示:
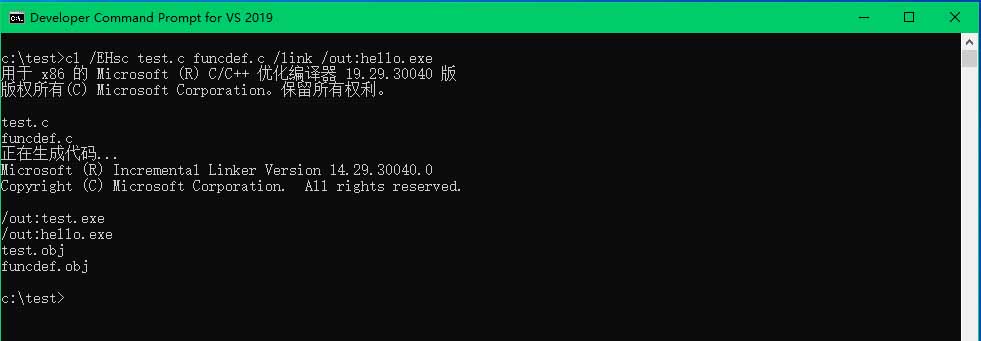
编译器使用第一个文件名创建程序名;如果想自定义执行程序名,可以使用/out链接器选项,例如:cl /EHsc test.c funcdef.c /link /out:hello.exe
执行程序,只需要输入可执行文件的程序名即可。